
Until recently, there weren’t many options if you wanted to add a little fire to your food. You can also grind black pepper on a plate or sprinkle with dried red pepper flakes. If you’re really adventurous, you can even give your food a few pushes of Tabasco. The pick was pretty slim though.
But lately, there’s been a lot of talk about ethnic cuisine that’s spicier than habanero. Authentic Mexican, Thai, and Hunan cuisines are all the rage, and they all use some kind of chili pepper for spiciness. As a result, most supermarkets have a wide variety of hot chili sauces on their shelves and plenty of fresh chili in the produce section. Chili’s sudden popularity is good news for gardeners. Almost every open seed catalog now lists many chili pepper varieties.
You’ve probably heard that diversity is the spice of life. We take it a step further and say that growing a variety of chiles can add a lot of spice to your life, kitchen and garden. It requires a little more effort, like needing a heat mat for germination and having to transplant the seedlings twice, but you get a variety of colorful and flavorful chiles.
warm up
|
|
|
|
- Start growing in your apartment eight weeks before transplanting chili seeds outdoors.
- Place flats on a germination heat mat set at 80°F.
- Once the seeds have sprouted, place the fluorescent light directly above the seedlings and barely touch them.
- After 4 weeks, transplant into small pots and keep warm.
- After another 4 weeks, when the soil in the garden is warm, firm them up and plant them outside.
- Secure the plant to a stake to prevent it from falling over.
- Harvest the chiles when they are mature to encourage flowering of the plant.
Choose Chili Peppers Based on Their Heat Tolerance
Not all types of chili are unbearably hot. Some are very mild and even slightly tingle on the tongue. Don’t confuse chili spiciness with taste. Taste and spiciness are two distinct sensations, and all chili have both.
new mexico chili It’s just slightly hot. A closer look at the seed catalog reveals that New Mexican, Anaheim, or Long Green Chiles and Red Chiles are all the same variety. Call it whatever you want, but all Chilean varieties of this species have productive plants that are 12 to 20 inches tall. Some pods are drooping, but the pods known as mirasol are straight up. Expect up to 75 pods per plant. New Mexican chili is used as a green chili pepper in its raw state, but when ripened red it becomes sweet and spicy.

Poblanos A large, mild-tasting chili, perfect for chili regenos, stuffed with whole chili and fried in a fluffy egg batter. Plants are not particularly productive. Even new and improved cultivars often grow less than 10 pods per plant. Poblanos have thin walls, which makes them ideal for drying. When ripe and turning from dark green to bright red, the peppers are tied with a string and hung in the sun or other dry place for year-round use. Dried poblanos are called anchos.
Hungarian wax chili (Photo, right) is bright yellow and has a mild flavor that is more like green peppers than chili peppers. There are medium spicy and spicy. This plant is highly productive and early pods, making it a good choice for northern gardens. Most ripen to sweet, delicious reds or oranges.
CayenneBoth red and gold are great for adding heat to just about anything. The plant is small but produces a lot of early ripening chiles. One or two small plants can supply enough for a year. Because the skin is thin, it is an excellent chili for drying.
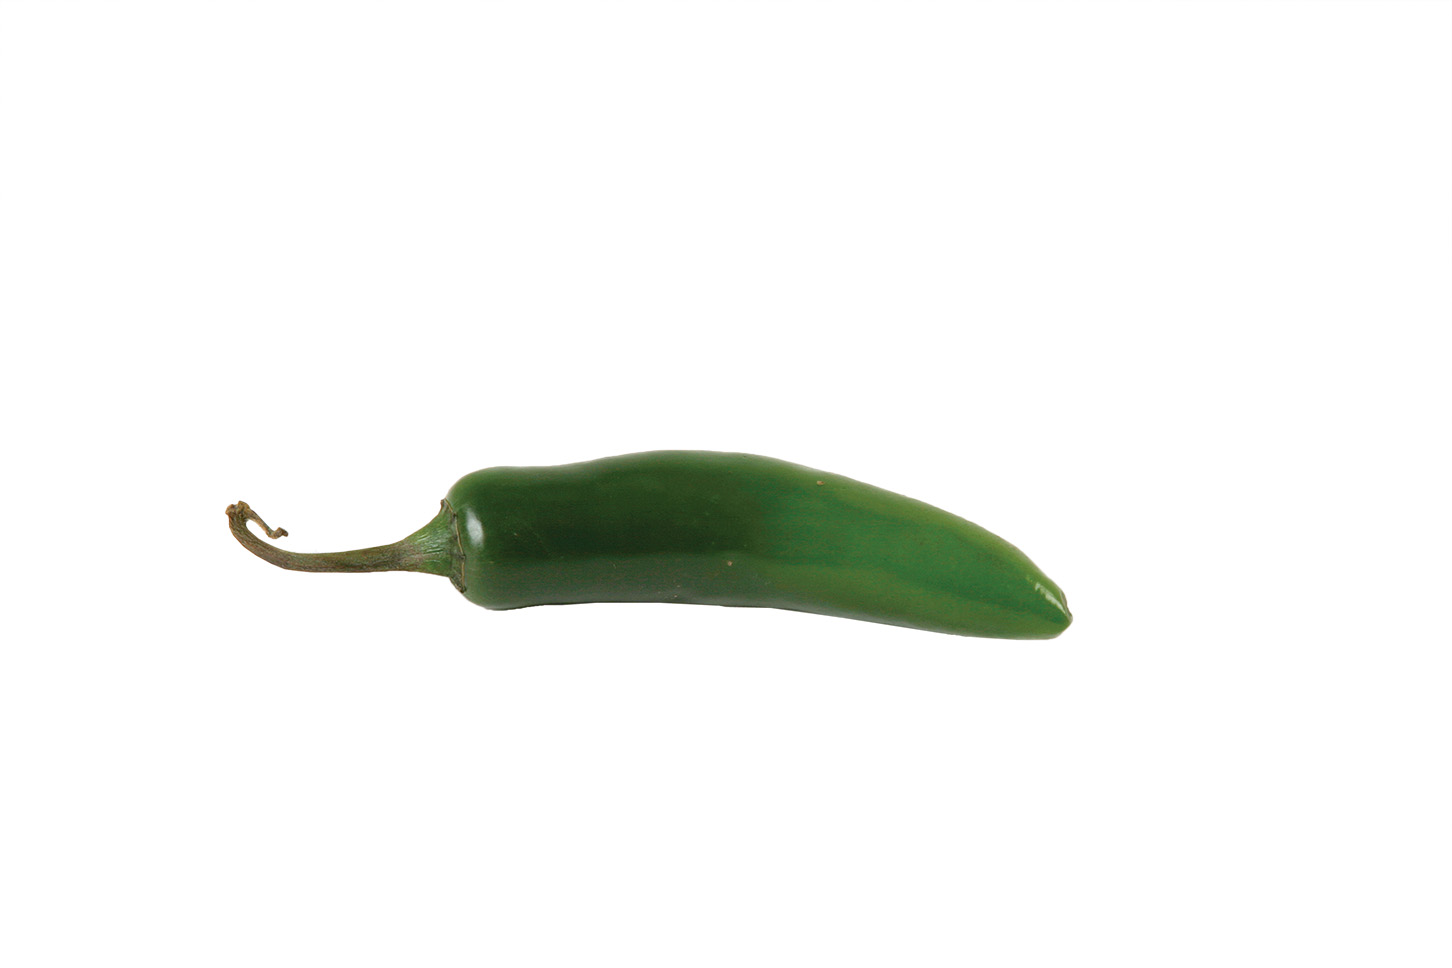
jalapeno pepper Not too hot, not too mild, probably the best middle-of-the-road chili. These peppers are what most people think of when they hear chili peppers. Jalapenos are the standard salsa chili, the canned pepper you find in the Mexican food section of supermarkets. All jalapeno varieties are highly productive, producing about 75 pods per plant. Jalapenos can be used green or ripe.
bright red color.
Theranos A hot bullet about the size of a little finger. They can be used green, but I find them best when ripened to a bright red color and used in salsas, sauces, stews, and soups. Plants are tall and wide, growing up to 3 feet in both directions. Serranos produce pods much later than jalapenos, but when they do, the plant is fully loaded.
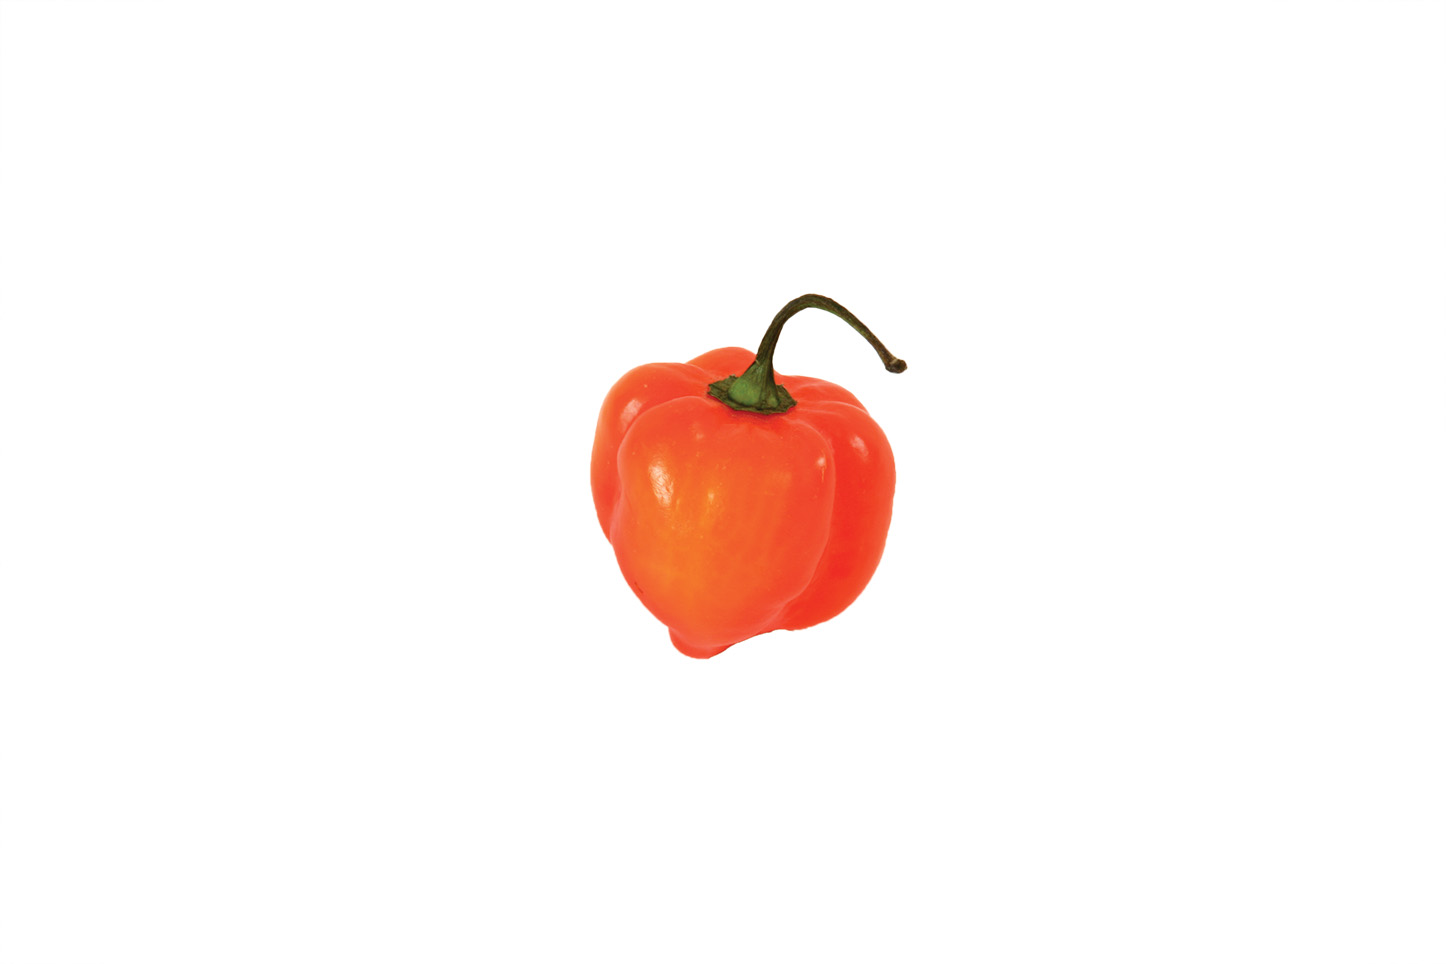
most people say habañero pepper The hottest kind of chili in the world. Many habanero chiles have small square pods with lots of folds and crevices. One catalog describes its “golden habanero” as “aggressively nuclear.” Of all the habaneros, Scotch Bonnet is our favorite, a small, fiery chili that’s perfect for spicy Asian stir-fries, curries, salsas, and marinades. It still has a nice fruity habanero flavor, but it’s not as spicy as some habaneros. The plants are short and broad, forming huge numbers of pods, even in summer when there may not have been enough sun or warm weather to produce other habaneros.
|
|
|
|
|
|


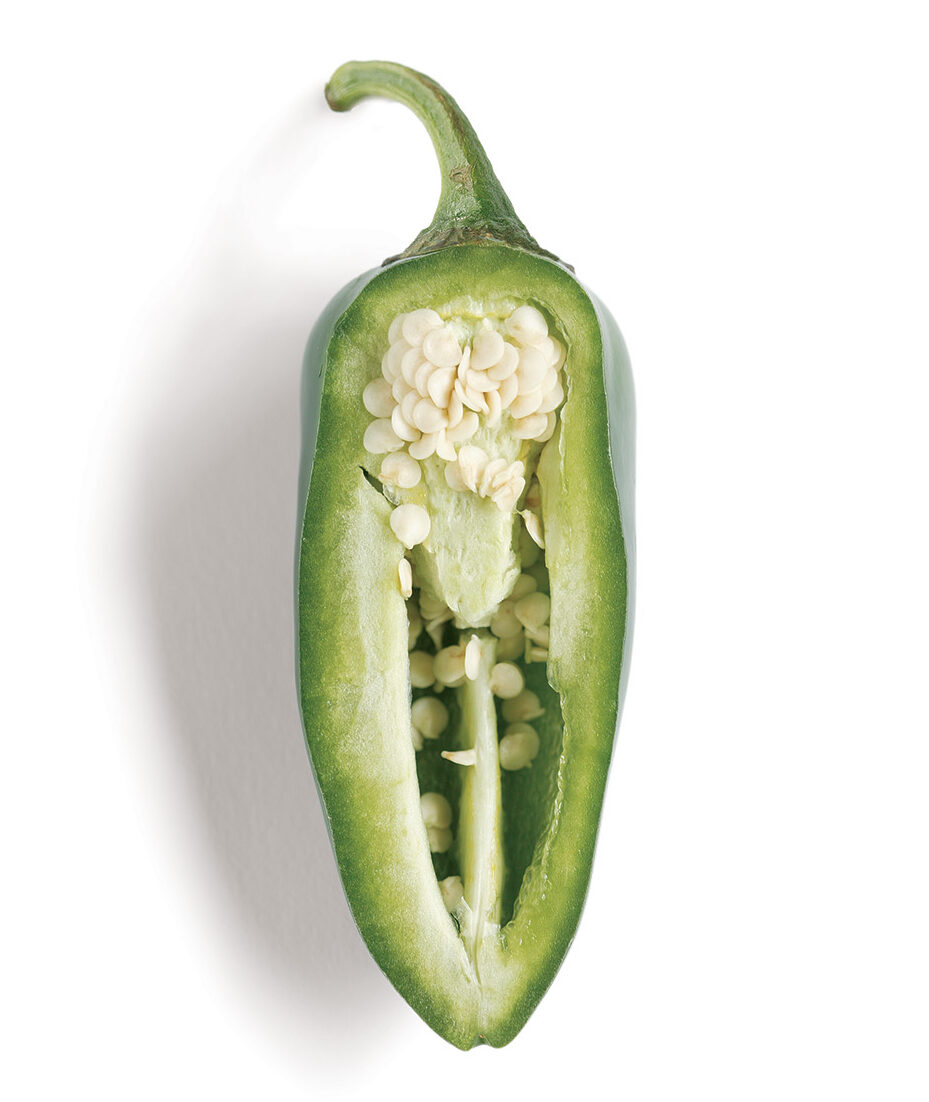
Seeds don’t make chili spicy
The spiciness of chili peppers comes from capsaicin (cap-SAY-a-sin), the pale fleshy membranes (ribs) that line the walls of the chili pod. Capsaicin is a tasteless, odorless compound that is insoluble in water. So drinking water or chewing an ice cube won’t make the burning sensation go away, especially after eating hot chili peppers. To minimize the release of capsaicin, cut the chili in half, scrape out the ribs and seeds, and wash well.
Heat is essential for successful planting
To germinate the seeds, spread the very porous germination mixture about 2 inches on the plug tray. Chile seeds, of course, need water, but the tiny chile roots cannot tolerate moist soil and need oxygen. Make sure your potting mix has good drainage and aeration. Sprinkle seeds lightly over mix and cover with 1/2 inch of potting mix.
Place the tray on the germination heat mat and set the thermostat so that the soil is kept at about 80°F. After the seeds have germinated, which can take anywhere from 5 days to 2 weeks, they require a lot of light. If you don’t have a greenhouse, place the trays on a windowsill and use fluorescent lights to supplement the natural light. Keep the lamp almost touching the top of the plant and raise it as the plant grows.
The two cotyledons, or seed leaves, open first. After about 4 weeks, when the next leaf (first true leaf) opens, transplant the seedlings into plastic pots or 6-packs. I find the 6-pack more convenient as it maximizes the space on the heating mat.
|
|
|
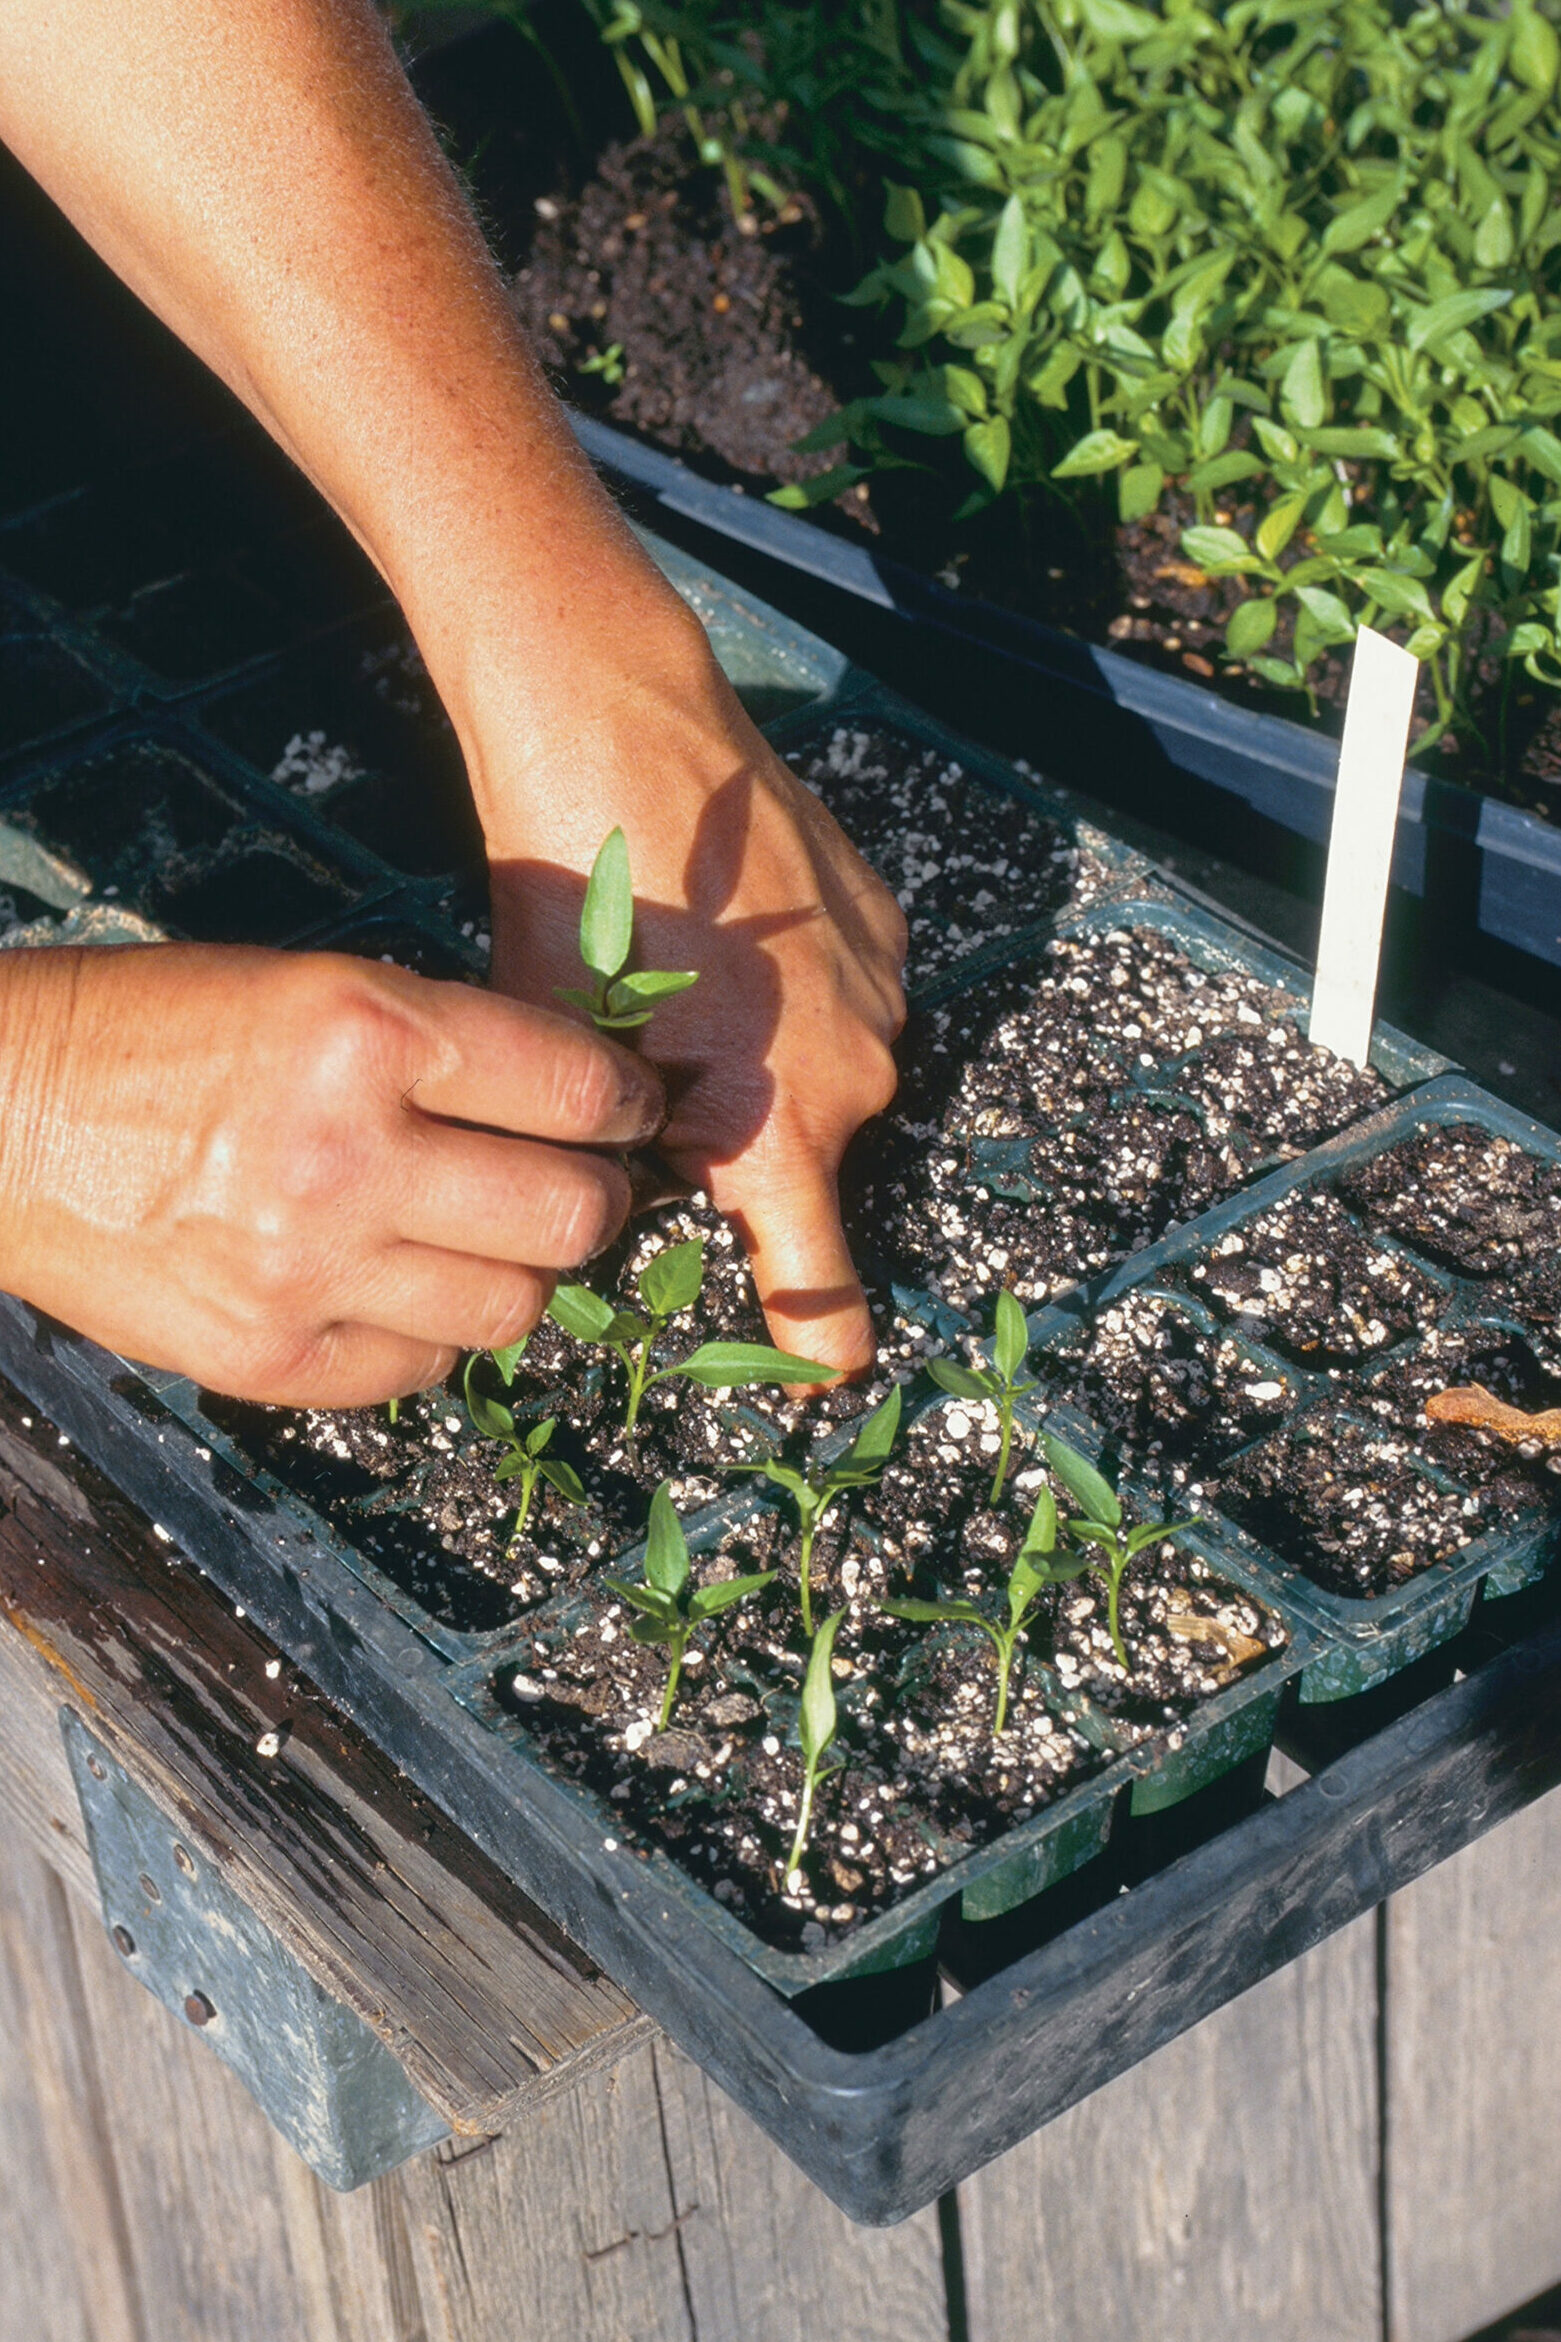

Transplanting helps chiles develop a strong root system. Strong roots can prevent the plant from tipping over when the pods are full. Adjust the temperature of the heat mat so that the soil remains at about 75°F and keep the lamp directly above the plant.
Water the seedlings enough to keep the soil evenly moist. Every other watering can be a weak solution (twice the recommended amount of water) of either fish emulsion or a soluble starter fertilizer containing low nitrogen (15-25-25). Nitrogen is great for leaf development, but too much nitrogen can hinder pod development in chili plants.
Protect plants from the sun by securing them to stakes
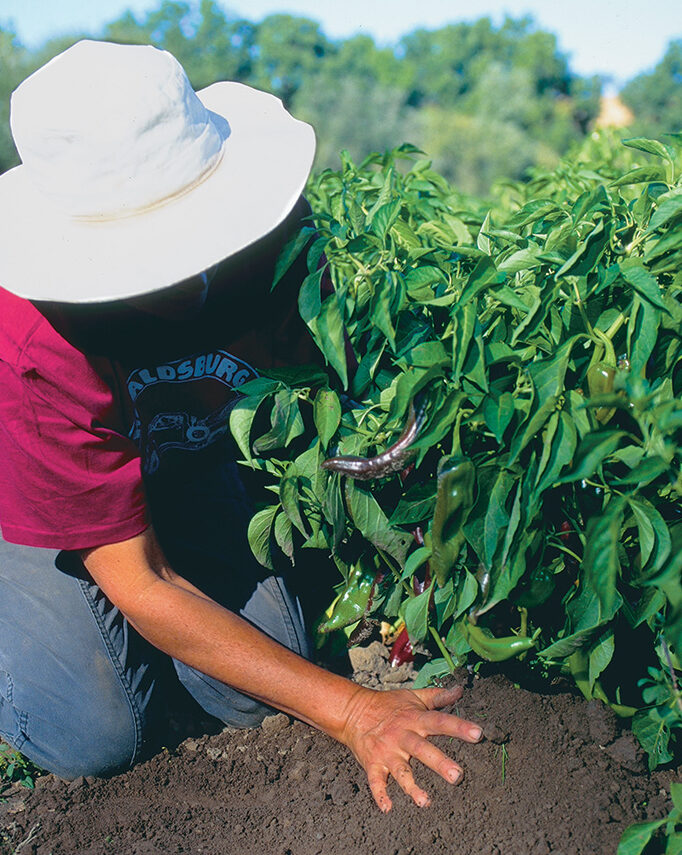 Chilean plants thrive in full sun. In fact, the pods need plenty of sun to ripen. The problem is that the pods get sunburned and have a sour taste. Chilean plants, especially large plants like poblanos, tend to topple over and expose their pods to the hot sun, so we set up each plant immediately after planting it in the ground and tuck the soil around it. further support.
acclimate the chili to the garden
If you plant chili peppers in your garden too early, they will not grow well. In addition to warm nighttime temperatures, you also need garden soil that feels warm up to your wrists when you dig your hands into the ground. If the weather is really impatient, you can warm the soil by covering it with a layer of black plastic.
Hardening requires a gradual decrease in soil temperature, allowing the soil to dry out a little more with each watering. Plants can last up to 7 weeks outside in pots as long as nighttime temperatures are guaranteed to be at least 45°F.
If nighttime temperatures consistently exceed 55 degrees Fahrenheit, you can transplant the chiles outdoors after about eight weeks. However, if the soil is not warm, or the nights are still too cold, you may need to protect the plants in your garden with some kind of row cover, or lightly fertilize the pots to keep the plants indoors a little longer.
A sunny garden with plenty of compost is ideal for Chile. As before, when feeding newly transplanted seedlings, do not use nitrogen-rich organic additives that can inhibit pod production.
To plant the chili, dig a hole slightly deeper than the pot by hand. Then set the grafts in these holes and fill the root ball up to the cotyledons (bottom left photo, facing page). Fill the holes and compact the soil. Keep watering the grafts with the same fertilizer you used for the seedlings, and you’ll have a good harvest before you know it.
The more you choose, the more you get
Harvesting can begin at maturity before the chiles reach their final color. Mature chiles are green, with the exception of some yellow chiles, such as Hungarian wax. Find a full-sized pod and gently squeeze it. It should feel heavy, thick and hard. Harvesting mature chiles encourages the plants to continue flowering. Continuing to harvest mature green chillies will increase overall production.
However, it is not necessary to pluck all fully grown pods. As chili ripens, it gains flavor, spiciness, and beauty, reaching a final color of dark green, yellow, orange, or red, depending on the variety. Chiles should be harvested when they reach their ripe color. Otherwise, it will dry out and become soft. Chilipods are best harvested with clippers or scissors. Pulling on the pods can tear the plant.
Lee James and her brother Wayne run Tierra Vegetables in Healdsburg, California.
Photos (unless otherwise noted): Boyd Hagen